3D printing, also known as additive manufacturing, is a fascinating and innovative technology that allows you to create three-dimensional objects from digital models. It’s an exciting hobby that combines creativity, engineering, and problem-solving. If you’ve just received a printer or are considering buying one, you may be wondering where to get started with 3D Printing. This guide will take you through the basics, from understanding the technology to choosing the right materials and software.
Understanding 3D Printing Technology
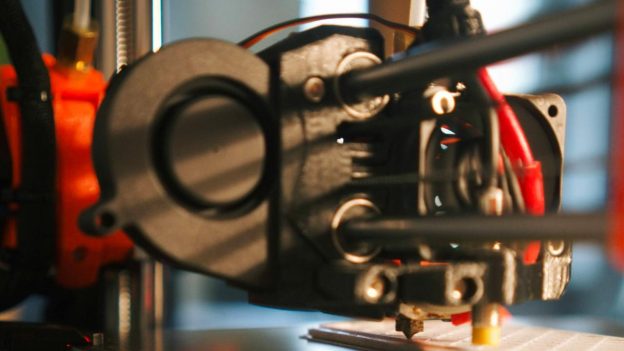
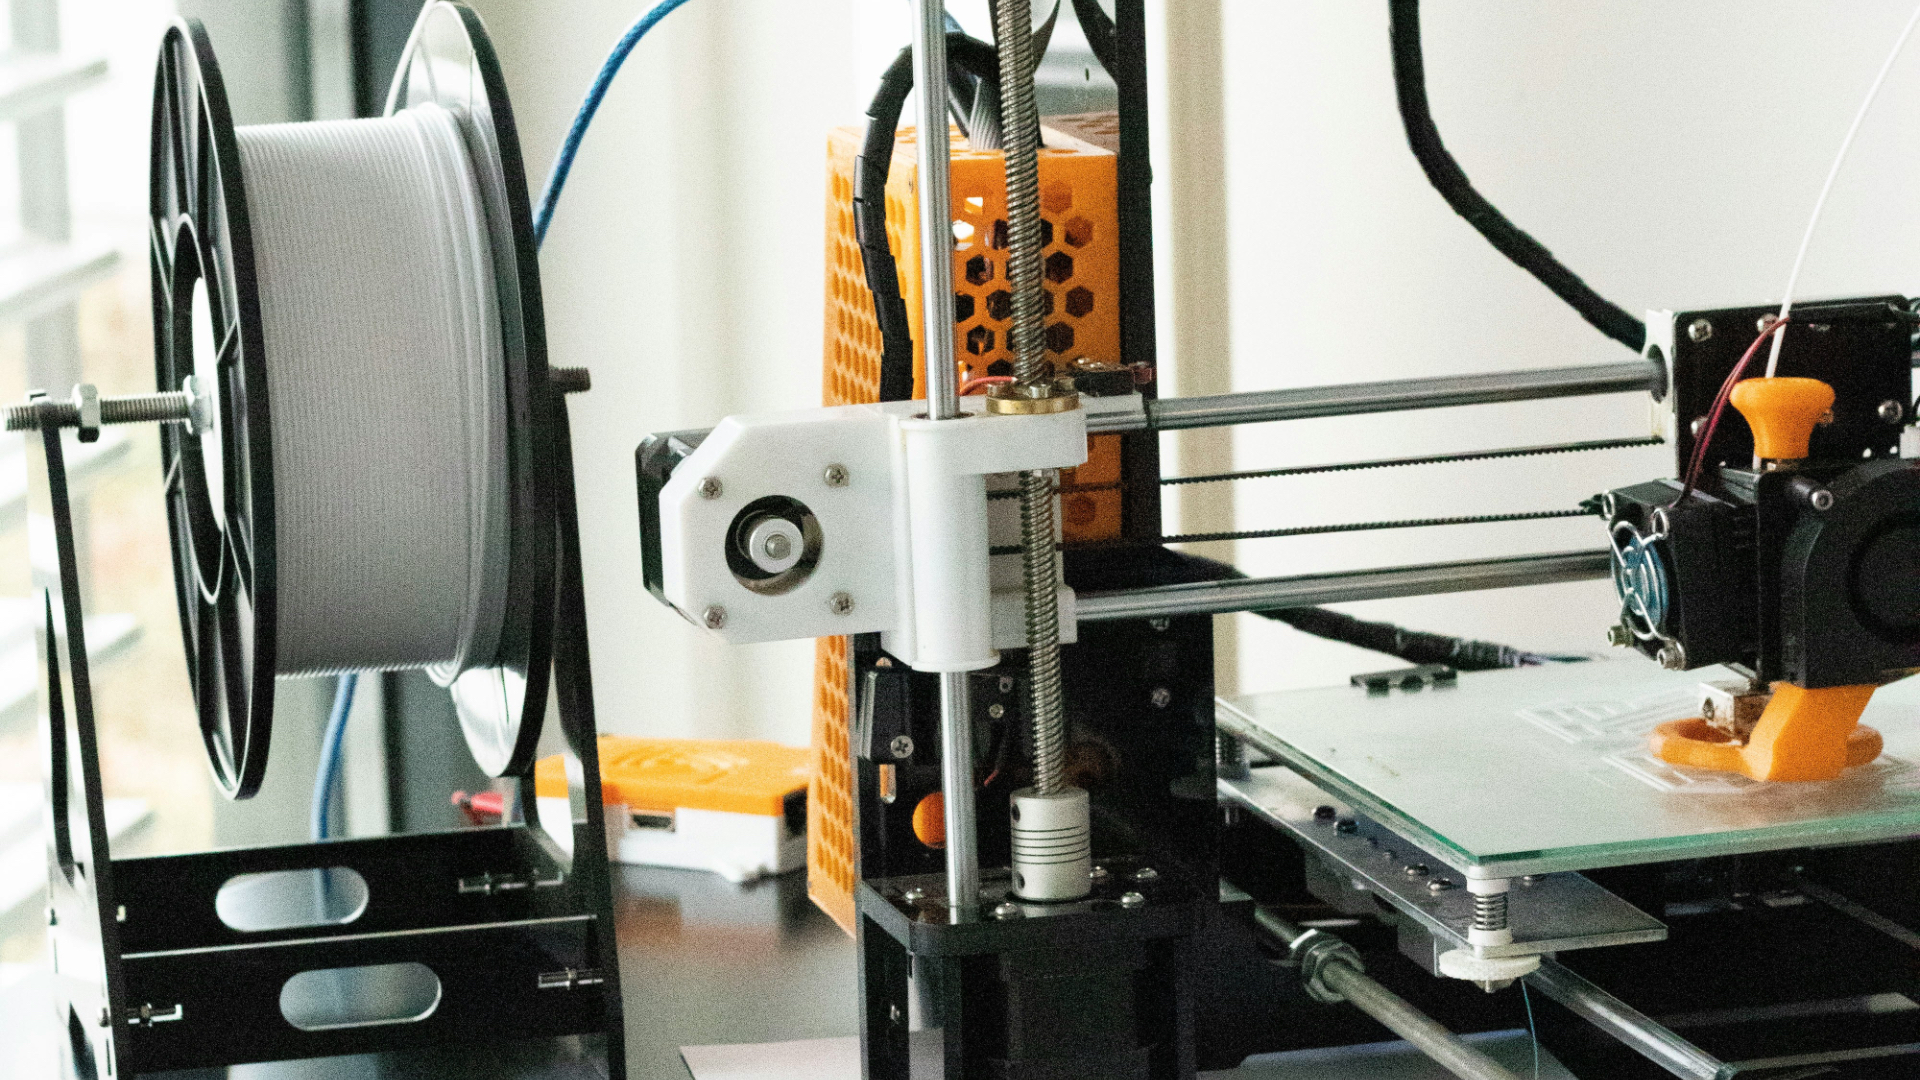
Photo by Kadir Celep on Unsplash
At its core, getting started with 3D printing works by building objects layer by layer, a process that involves three main components: the printer, the material (filament), and the software. The most common type of 3D printing technology for home use is Fused Deposition Modeling (FDM). FDM printers work by heating a plastic filament and extruding it through a nozzle to create thin layers, which are then stacked to form a solid object. This technology is widely appreciated for its simplicity and affordability, making it a popular choice for hobbyists and beginners alike.
FDM printers are typically easy to set up and maintain, and they offer a wide range of materials and colors to work with. However, they do require some basic knowledge of 3D modeling and printing principles to achieve the best results. Understanding how to adjust the printer’s settings, such as temperature, speed, and layer height, can significantly impact the quality of your prints. Moreover, FDM printers are known for their versatility, as they can print everything from simple prototypes to more complex objects with moving parts.
Another popular 3D printing technology is Stereolithography (SLA), which uses a laser or UV light to cure liquid resin into solid layers. SLA printers are capable of producing highly detailed prints with smooth surfaces, making them ideal for applications that require precision, such as jewelry making or creating miniature models. However, SLA printing can be more challenging for beginners due to the need for post-processing, which involves washing and curing the printed object to remove any uncured resin. Additionally, SLA printers tend to be more expensive than FDM printers, and the resins used can be more costly and less environmentally friendly.
Choosing the Right Filament
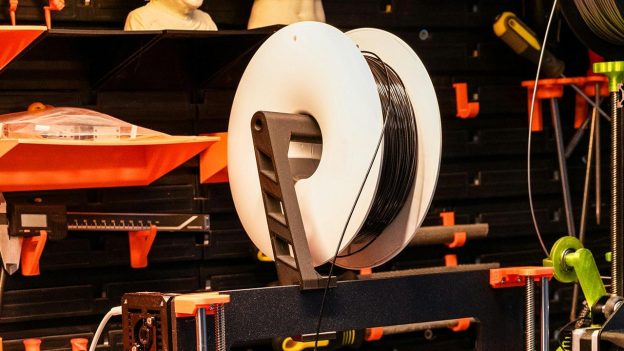
The type of filament you use in your 3D printer significantly impacts the quality, durability, and ease of printing. Among the most common filaments are polylactic acid (PLA), acrylonitrile butadiene styrene (ABS), and polyethylene terephthalate glycol (PETG), each offering different properties and suited for various applications.
PLA is the most beginner-friendly filament due to its low melting temperature, minimal warping, and wide variety of colors and styles. It’s biodegradable, made from renewable resources like corn starch, and is generally easy to work with. PLA is ideal for creating detailed models, decorative items, and prototypes that don’t need to withstand high temperatures or mechanical stress. It also comes in various finishes, including matte, glossy, and even metallic, allowing for creative flexibility in your projects. However, PLA is more brittle than other filaments and may not be suitable for parts that need to be strong or flexible.
ABS is a stronger, more durable material that is often used for creating functional parts, such as mechanical components or objects exposed to heat or impact. However, ABS requires higher printing temperatures and a heated bed to prevent warping, which can make it more challenging for beginners to use. Additionally, ABS emits fumes during printing that can be unpleasant and potentially harmful, so it’s important to use ABS in a well-ventilated area or with an enclosure around your printer. Despite these challenges, ABS’s toughness and flexibility make it a preferred choice for applications requiring durability.
PETG is another popular filament that combines some of the best qualities of both PLA and ABS. It’s stronger and more heat-resistant than PLA, yet easier to print with than ABS, thanks to its lower tendency to warp. PETG is often used for creating durable, functional parts, such as water bottles, phone cases, or even components for outdoor use. It also has good chemical resistance, making it suitable for applications that might come into contact with oils, acids, or other chemicals. However, PETG can be prone to stringing (the formation of thin strands of filament between parts of the print), so it may require some fine-tuning of your printer’s settings to achieve the best results.
Beyond these common filaments, there are many specialty filaments available, including flexible TPU, wood-infused PLA, and even metal-filled filaments. Each of these materials offers unique properties and challenges, and experimenting with different filaments can be one of the most rewarding aspects of getting started with 3D printing.
Selecting Your 3D Software
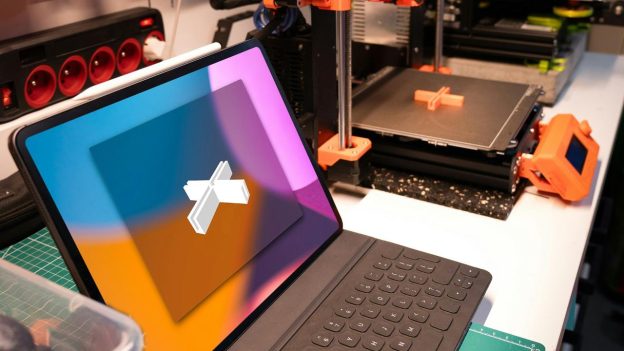
Photo by Jakub Żerdzicki on Unsplash
To transform your 3D models into printable objects, you’ll need slicing software. This software takes your digital model and converts it into layers that your printer can read and print. The slicing software is a critical part of getting started with 3D printing process, as it allows you to adjust various settings that can significantly affect the outcome of your prints.
Popular slicing software options include those that are user-friendly and offer extensive customization options, making them great for beginners. These programs typically support a wide range of printers and filaments and come with pre-configured profiles that make it easy to get started. For those looking to experiment with more advanced settings, slicing software often offers detailed control over parameters like print speed, infill density, and support structures. Many of these programs also include powerful preview features that let you see how your model will be printed, layer by layer, helping you to identify potential issues before printing.
Other slicing software options are designed for more advanced users, offering even more features for those ready to dive deeper into the world of 3D printing. These programs often include tools like variable layer height, which allows you to adjust the resolution of your prints depending on the complexity of different parts of the model. This can help to reduce print time while maintaining high quality where it matters most. These advanced tools also allow for custom support creation and optimization of print settings for specific materials.
Some slicing software is known for its ability to optimize print settings for a wide range of printers and filaments, making it a favorite among professionals and enthusiasts who demand the best possible print quality. These programs offer detailed control over every aspect of the printing process, including advanced support generation, multi-material printing, and sequential printing (printing one object at a time, rather than layer by layer). While these options may have a steeper learning curve, they can be a worthwhile investment for those who want to take their 3D printing to the next level.
In addition to slicing software, you may also want to explore 3D modeling software if you’re interested in creating your own designs. Programs like Tinkercad, Fusion 360, and Blender offer a range of tools for designing 3D models, from simple shapes to complex, detailed objects.
Tinkercad is particularly beginner-friendly, offering a drag-and-drop interface that makes it easy to create basic models. Fusion 360 and Blender, on the other hand, offer more advanced tools for parametric modeling, sculpting, and animation, making them suitable for users with more experience or specific needs.
Preparing to Print

Photo by Jakub Żerdzicki on Unsplash
Before you begin printing, there are several important steps to take to ensure a successful print. First, ensure your 3D model is properly oriented and scaled within the slicing software. Orientation is crucial because it affects the strength, surface finish, and amount of support material needed for your print. For example, printing a model with its flat side down on the print bed will generally produce a stronger and smoother surface, while complex shapes may require specific orientations to minimize the need for supports.
Scaling is another important consideration, especially if you’re printing a model downloaded from the internet. Many models are designed at a specific scale, but you can resize them in your slicer to fit your needs. Just be aware that scaling a model too much can affect its detail and structural integrity, so it’s best to test print small sections if you’re unsure.
It’s also crucial to consider how the model will be supported during printing, especially for parts that hang over empty space. Support structures are temporary scaffolding that helps to prevent the model from collapsing during printing. Most slicing software allows you to automatically generate supports, but you can also add or remove them manually to optimize the print. Supports can be a bit tricky to remove after printing, so it’s worth experimenting with different support settings to find a balance between ease of removal and print quality.
Once your model is ready, select the appropriate settings in your slicer, such as infill density, layer height, and print speed. These settings will determine the balance between print speed and quality. Infill density affects the strength and weight of the final print, with higher densities resulting in stronger, heavier objects. Layer height controls the resolution of your print, with thinner layers producing smoother surfaces but longer print times. Print speed is another critical factor, as faster speeds can lead to lower quality or failed prints, especially with complex models or difficult materials.
As a beginner, expect some trial and error as you learn how different settings affect your prints. It’s a good idea to start with small, simple models and gradually work your way up to more complex projects. Keep a notebook or digital log of your print settings and results, so you can easily replicate successful prints or troubleshoot issues.
Starting Your First Print
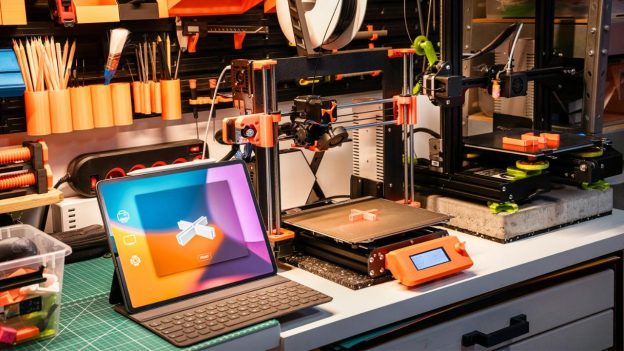
Photo by Jakub Żerdzicki on Unsplash
When you’re ready to start printing, ensure your printer is set up correctly and that you have enough filament loaded. It’s important to check that the print bed is clean and properly leveled, as an uneven bed can lead to failed prints or poor adhesion. Many printers come with an automatic bed leveling feature, but if yours doesn’t, you may need to level the bed manually using a sheet of paper or a feeler gauge.
It’s a good idea to start with simple models, such as calibration cubes or basic shapes, to get a feel for how your printer works and to test its accuracy. These prints can help you identify any issues with your printer’s settings or hardware before you move on to more complex projects. Common beginner mistakes include not using supports for overhanging parts, printing too quickly, or using the wrong filament temperature, all of which can lead to failed prints or poor quality.
Monitoring your printer during the first few layers is crucial to ensure the print adheres properly to the bed. If the print doesn’t stick, you may need to adjust the bed leveling, temperature settings, or add an adhesive like painter’s tape, glue stick, or a specialized 3D printing adhesive. Many printers also allow you to fine-tune settings on the fly, so you can make adjustments without stopping the print.
As you gain experience, you’ll learn to recognize common printing issues and how to address them. For example, if you notice stringing or blobs on your prints, you may need to adjust the retraction settings or print temperature. If your prints are warping or lifting off the bed, you may need to increase the bed temperature or use a brim or raft to improve adhesion.
What to Print
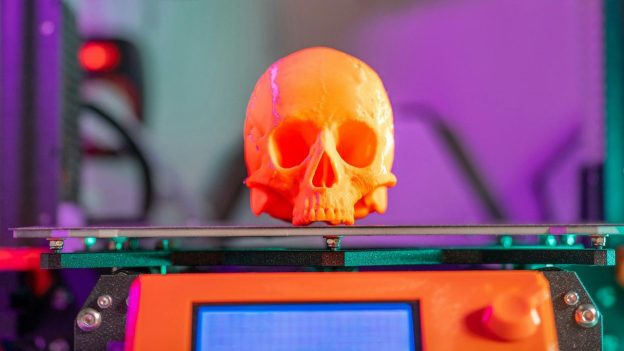
Photo by Jakub Żerdzicki on Unsplash
The possibilities with 3D printing are nearly endless, and deciding what to print can be one of the most exciting aspects of the hobby. You can create functional items like cable organizers, brackets, custom tools, or decorative items like figurines, models, and ornaments. Many enthusiasts who get started with 3D printing enjoy creating practical objects that solve everyday problems, such as custom phone holders, keychains, or storage solutions. These projects can be simple to design and print, making them ideal for beginners.
Websites offering 3D models to download and print cater to various interests, from tabletop gaming to household items. These platforms provide thousands of free models, with a wide range of categories and user-generated content. Some platforms offer curated selections of high-quality models and community challenges to inspire your next project. Others specialize in 3D-printed miniatures, art, and cosplay props, making them great resources for hobbyists and creatives.
As you gain experience, you might even start designing your own models using CAD software. This can open up new possibilities for customization and creativity, allowing you to create unique objects tailored to your specific needs. Some CAD programs are great for beginners, offering intuitive interfaces and libraries of pre-made shapes and tools. As you become more comfortable with 3D modeling, you can explore more advanced software with powerful parametric modeling tools or programs ideal for creating detailed, organic shapes.
Some popular projects among 3D printing enthusiasts include custom toys and figurines, cosplay props, and scale models. Many people also enjoy printing replacement parts or upgrades for their 3D printers, such as improved cooling ducts, filament guides, or bed leveling knobs. These projects not only help you learn more about your printer but also allow you to enhance its performance and capabilities.
Troubleshooting and Improving Your Prints
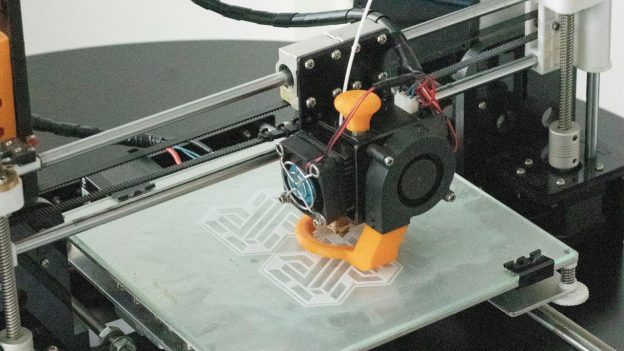
Photo by NEW DATA SERVICES on Unsplash
Learning how to get started 3D printing can be challenging, especially for beginners, but with patience and persistence, you can overcome common issues and improve the quality of your prints. Some of the most common problems include prints coming loose from the bed, poor layer adhesion, stringing, and failed supports.
If your prints are coming loose from the bed, it’s essential to ensure that the bed is properly leveled and clean. Adjusting the bed temperature or using an adhesive like painter’s tape, glue stick, or a specialized 3D printing adhesive can also help improve bed adhesion. You can also experiment with different bed surfaces, such as glass, PEI, or magnetic build plates, to find the one that works best for your printer and filament.
Poor layer adhesion is another common issue that can affect the strength and appearance of your prints. This problem is often caused by printing at too low a temperature, printing too quickly, or using a filament that is past its prime. Increasing the print temperature or slowing down the print speed can help improve layer adhesion. It’s also important to store your filament properly, as moisture can degrade its quality and lead to poor prints. Consider investing in a filament dryer or storage solution to keep your filament in top condition.
Stringing occurs when the printer’s nozzle drags thin strands of filament between parts of the print, creating unwanted wisps or blobs. This issue can often be resolved by adjusting the retraction settings in your slicer, which controls how much filament is pulled back into the nozzle between moves. Increasing the retraction distance or speed can help reduce stringing, but be careful not to go too far, as excessive retraction can lead to clogs or under-extrusion.
Failed supports are another challenge that can lead to poor print quality, especially for complex models with overhangs or intricate details. To improve support structures, experiment with different support settings in your slicer, such as support density, pattern, and placement. You can also try using tree supports, which are more organic and efficient than traditional supports, reducing the amount of material used and making them easier to remove.
Joining online communities can be incredibly helpful for troubleshooting and improving your prints. These communities are full of experienced users who are often willing to share their knowledge and offer advice. You can also find tutorials, guides, and print settings for specific printers and filaments, helping you to achieve better results.
Remember, patience and experimentation are key to success in getting started with 3D printing. Don’t be discouraged by failed prints or issues along the way—every challenge is an opportunity to learn and improve your skills. Keep experimenting with different settings, materials, and techniques, and you’ll soon find yourself producing high-quality prints with confidence.
Final Thoughts: Getting Started with 3D Printing
Discovering how to get started with 3D printing is a rewarding and versatile hobby that allows you to turn digital designs into physical objects. While there’s a learning curve, especially when it comes to fine-tuning your printer and mastering slicing software, the possibilities are nearly limitless. Whether you’re creating practical tools, custom toys, or artistic pieces, 3D printing offers a unique way to bring your ideas to life. With patience, experimentation, and the right resources, you can quickly go from a beginner to a confident maker.